


The Ancient Chinese Tangram Puzzle
The Tangram is a fascinating puzzle invented in ancient China some 4,000 years ago.
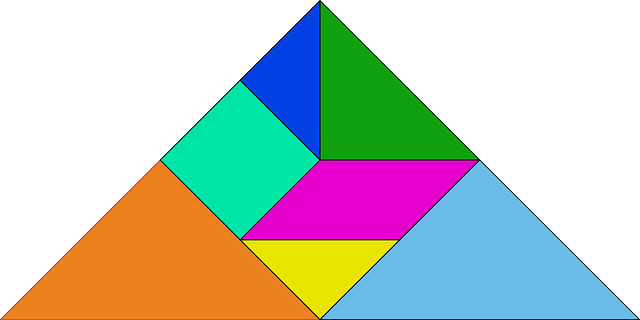
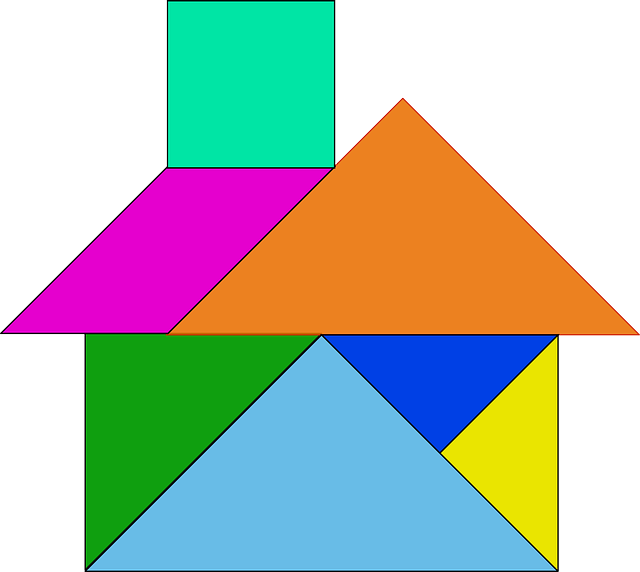
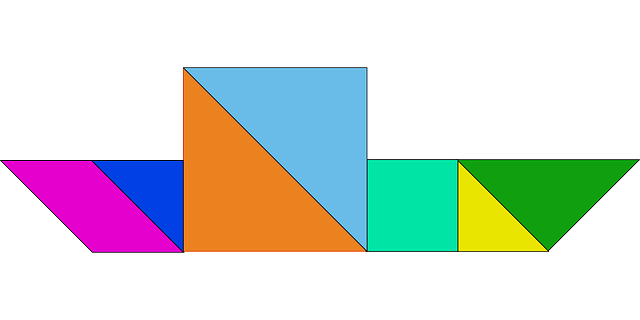
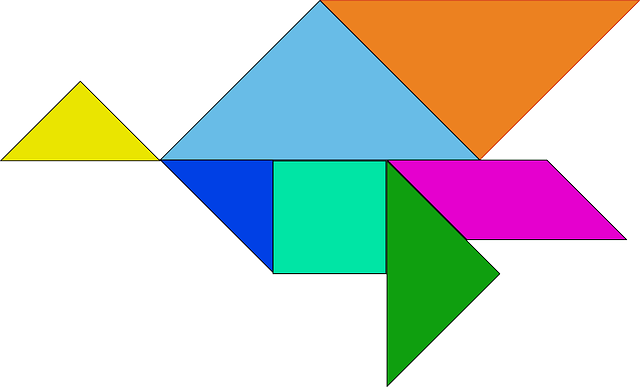
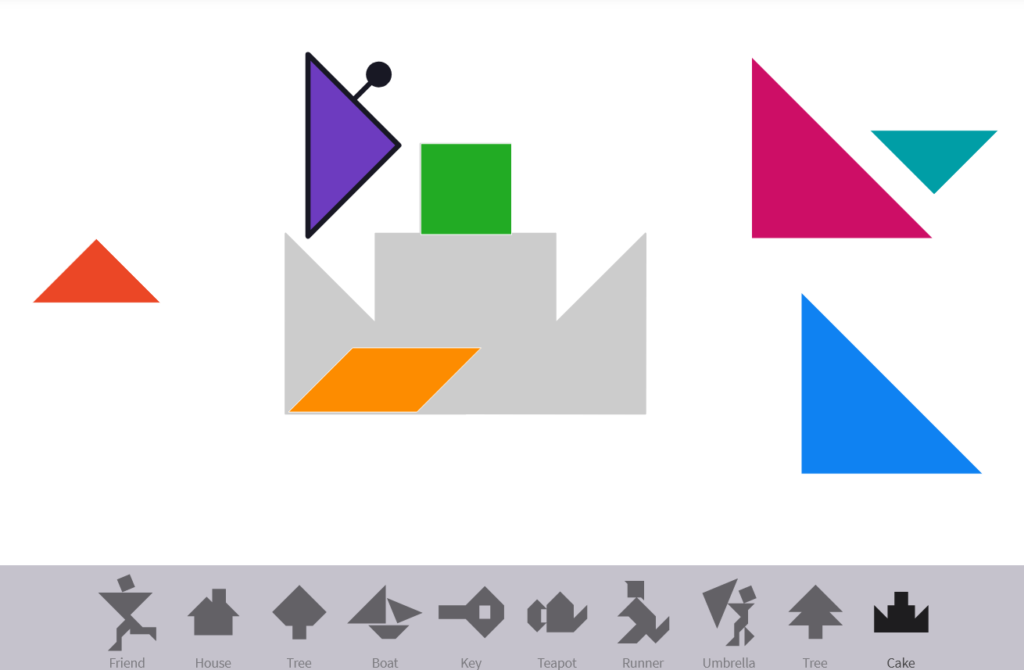
Like many ingenious things, it is extremely simple. The classic Tangram is a square divided into seven parts – two small, one medium and two large triangles, a square and a parallelogram.
In the course of the game it is necessary to put the details in the offered pattern – a figure of an animal, the person or a difficult polygon. All elements must fit into the pattern, without overlapping and not protruding beyond the contour of the figure. Possible combinations of no less than seven thousand, so that Tangram can fill your leisure time.
We offer a simplified version of the game, consisting of five parts – large, small triangles and a square. In this form even a small child can play Tangram. And since this activity develops imaginative thinking, the ability to divide the whole into parts and to recreate the whole from the parts in their imagination, it will be not just a fun pastime, but also beneficial.
Development of Tangram Online Game
The main development tool for the logic game “Tangram” was chosen game engine Unity. Programming of scripts in the engine can be done in two programming languages: Java and C#. During development the programming will take place in C#. The application interface, with a standard arrangement of windows, is divided into 4 panels.
The central panel contains 3 tabs: the scene, the game, and the AssetStore. The scene screen contains all the objects that will be in the game, as well as the cameras. The game tab displays the view as it will be presented in the game, that is, from the camera used. The AssetStore tab contains the resource store for the project, where you can purchase and import materials needed for the application without leaving Unity.
The panel on the left side of the screen contains all the objects in the scene and is called the Hierarchy. The right panel contains the properties of the currently selected object and is called the Inspector. At the bottom of the screen is the Project panel, which displays all the materials used in the project, be they scripts, prefabs, sprites or scenes.
To implement the movement of objects using the mouse or touch screen, you need to add to it the Rigidbody 2D physics engine and Polygon Collider 2D in which you need to configure the boundaries of the object. In the settings of the physical engine, set the parameter Kinematic inBody Type, which will allow the objects not to collide with each other. Having completed the preparatory steps, you need to add a new script to the object and start writing it. The easiest way to create movement of objects is the built-in method OnMouseDrag.
After you have the opportunity to move objects you need to decide how the detection of the position of the object in the right place. The most optimal way for the tasks was chosen, using colliders (collider) as triggers. Colliders determine the shape of the object and used to calculate the collision between objects by the physics engine, triggers in turn only detect this collision. To use a collider as a trigger, you need to check the corresponding item in the collider properties.
The general logic behind this is that when colliders collide on objects, one of which works as a trigger, the colliding objects are pro-actively detected and checked to see if the second object is its intended location and, if it is, it takes its place. In this way the silhouette of the figure is, in fact, already assembled from the same blocks. This option provides simplicity of development, because to create new levels it is enough to assemble a new silhouette from already ready blocks. It also allows for a simple way of pulling objects to their right places, if they are in close proximity, using collider boundaries.
To do this, you need to add the ability to move all the colored shapes, that is, you need to add a physics engine, a collider and a script to each of them. And in order not to interfere with the movement script and to be able to control the size of the trigger, you need to create a new collider of a different type, such as a rectangular one (Box Collider2D). Only the collider is added to the shapes that form the silhouette, since you don’t need to move them.
The next step is to write a script for general interactions in the game that are not tied to objects. To do this, you first add an in Place variable of the bool type with the public access type to the object script, which takes the value true if a colored figure stands in place of a similar silhouette figure.
All variables in scripts with the public access type are displayed in the Unity interface and can be changed directly from there. In addition, when you start debugging, their value changes are displayed in real time. This helps with debugging in the early stages of development, and also makes it easier to detect errors.
Next, an empty object is created in the object panel and a new script is added to it. This script will also be used to create the user interface later in the project. It creates a method that checks if all the shapes are in place and, if they are, it disables all colliders on the objects, i.e. prevents them from moving again.
The call of this method must be added to the object’s script so that it is executed when the shape is set in its intended place.Having completed the basic mechanics, it is necessary to create the user interface. User interface development is slightly different from game object creation, all of its objects are located on canvas object, which is several times larger than the game scene itself.
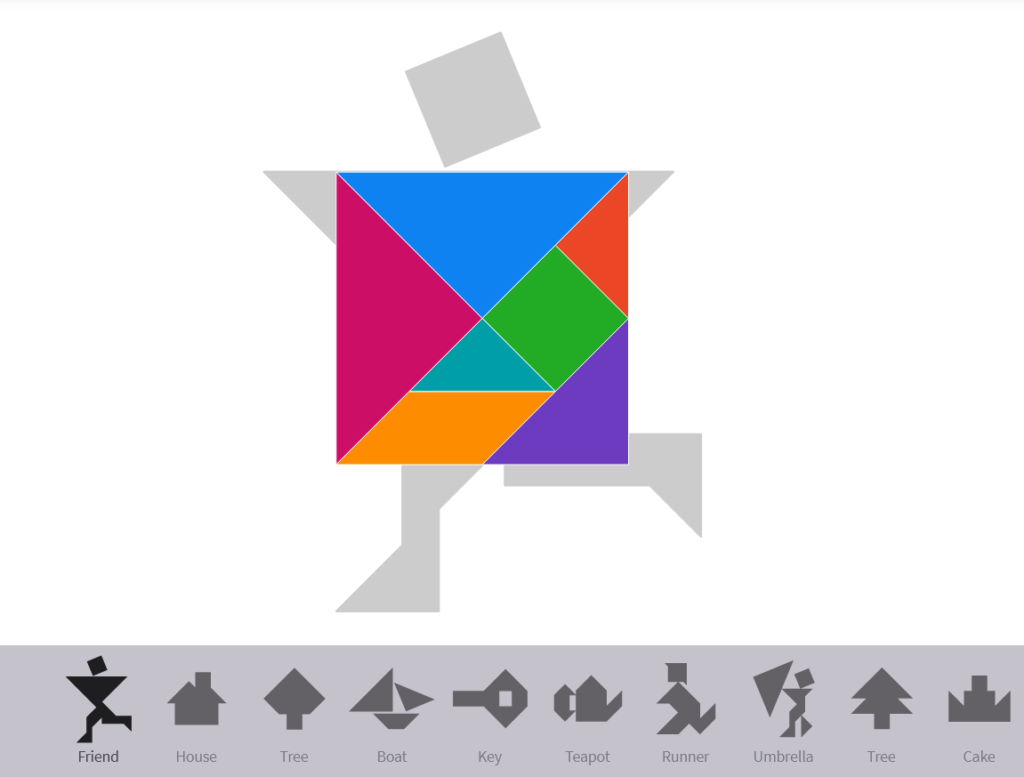
You can see how the interface is superimposed on the scene objects in the game window shown in Figure 18. The user interface is first of all represented by the button to exit to the level selection menu and the time countdown, which are constantly displayed on the screen during the gameplay.
To display the time, a text object is created, and its properties are used to adjust the font size and location on the screen. The location of the UI objects changes in relation to the anchor point on the screen, it can stand in the corner, in the center of the edge or in the center of the screen. For the stopwatch, the anchor point is set in the lower left corner and the indentation is adjusted in relation to it. The menu exit button is placed in the upper left corner with the corresponding anchor point. An image representing the menu icon is added inside the button object.
To make the final build settings for your project, go from the Build Settings window to the Player Settings. When building the Windows version, this is where you specify the default project resolution, available aspect ratios, and whether the application runs in full screen mode by default. The game was designed with the 16:9 aspect ratio in mind, so it is best to leave only this option checked. Here you can also configure the application icon, the Unity logo when the application starts, the name, company name, version and build number and many other settings.
The app build settings for the Android OS are slightly different. They can be set to force a fixed screen orientation in one position or leave the screen auto-rotate. When developing this application we took into account the adaptation for the horizontal screen orientation only.The package name field is mandatory, because the system files of the application will be stored in the folder with the same name. Also in this section you can select the minimum API level of the application which determines which Android versions the application will support.
An API (Application Programming Interface) is a set of tools provided by the system for external applications like Unity. So the higher the version of the API is, the more methods, procedures and functions will be available for use. You can change the development platform in the Build Settings window, and Unity will automatically convert all the files for the chosen platform. The Android SDK and Java Development Kit must be installed to select the Android form boards. The technical aspect of the porting is its easiest part, while the complexity lies in adapting the interface of the application to the target devices. This project was originally developed with the porting to mobile devices in mind, so the user interface in its version for Windows is not very convenient.